Getting started with your first portfolio - Part 4: Applying advanced styling
Applying placeholders with your own images
- To better organize our images, let's make a file called
imagesin the root level of our application - Download the images:
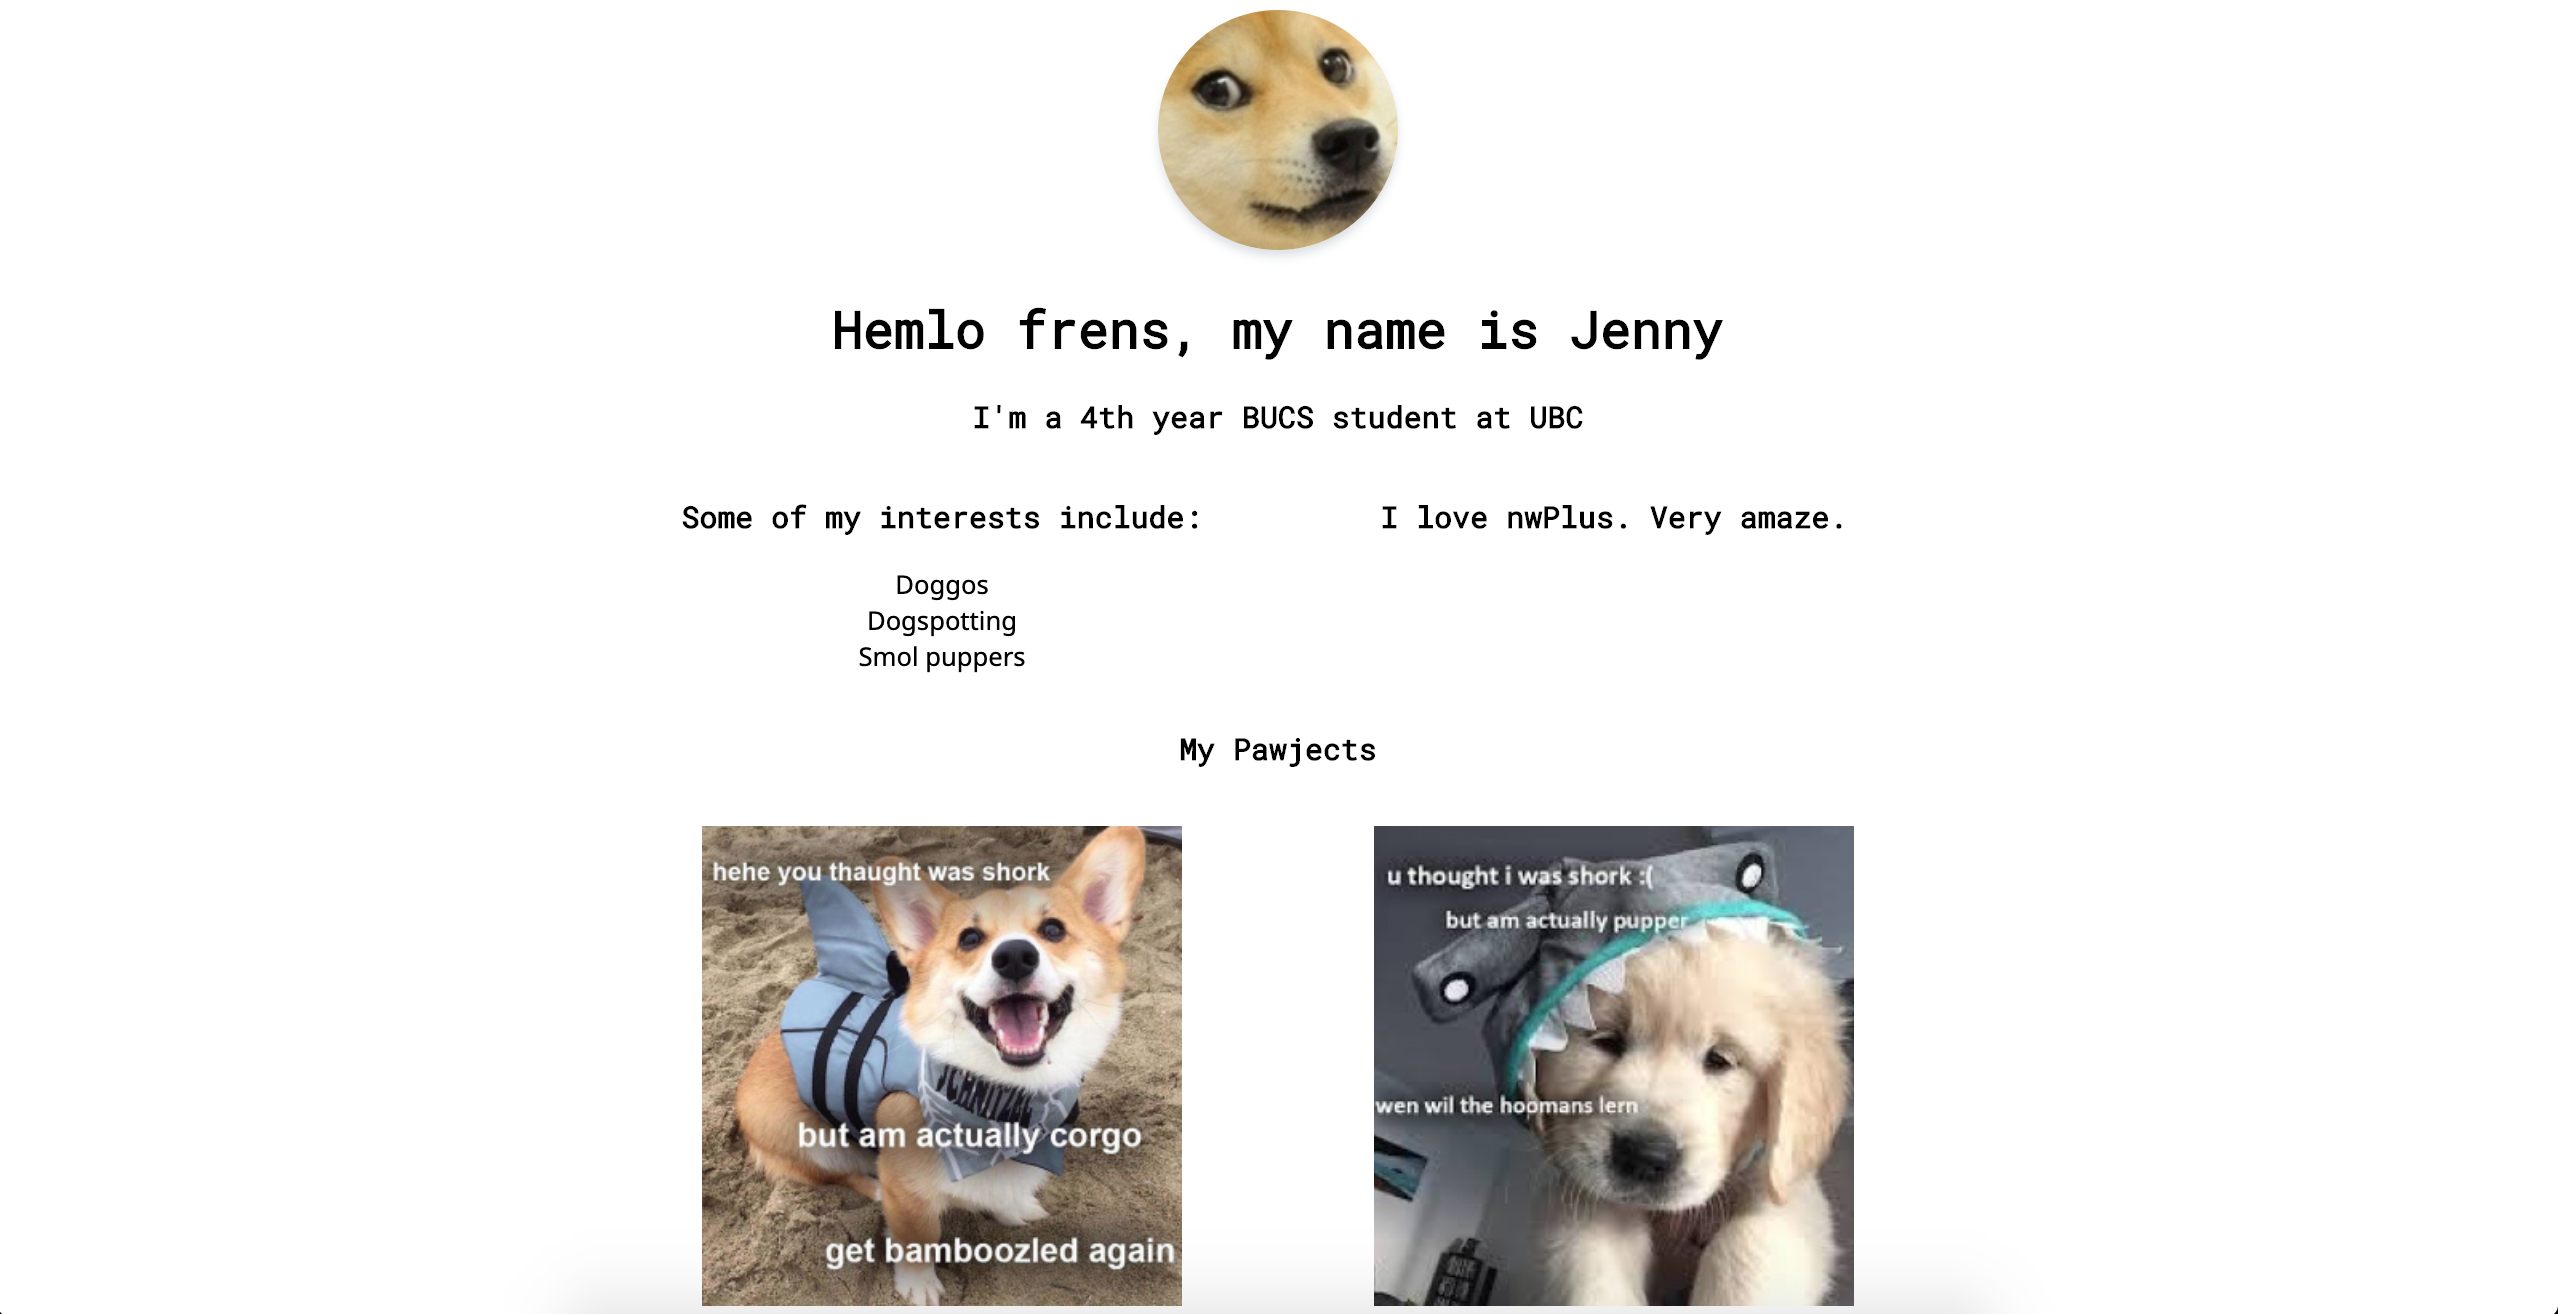
Replace the profile picture
<img src="https://via.placeholder.com/150" />with<img src="images/profile-picture.jpg" />Add some styling to the image
.profile-picture { border-radius: 50%; width: 150px; height: 150px; /* offset-x | offset-y | blur-radius | spread-radius | color */ box-shadow: 0 4px 6px 0 rgba(34, 60, 80, 0.16); transition: all ease-in-out 0.2s; } .profile-picture:hover { /* offset-x | offset-y | blur-radius | spread-radius | color */ box-shadow: 0 8px 12px 0 rgba(34, 60, 80, 0.16); }border-radiussets the border radius of the imagebox-shadowadds shadows to the image. Check Mozilla web docs for more details on the syntaxtransitionallmeans we want to animate all aspects of the imageease-in-outis a timing function that describes the speed of the animation. In this case we want the animation to run for.2seconds
hoversets properties for when we hover over the image, giving users a more visual feedback

Replace the project placeholders with the given images (or your own)
<h3 class="heading">Projects</h3>
<div class="projects-grid">
  <img class="project-image" src="images/project-1.jpg" />
  <img class="project-image" src="images/project-2.jpg" />
  <img class="project-image" src="images/project-3.jpg" />
  <img class="project-image" src="images/project-4.jpg" />
</div>
Setting custom fonts
We will be using Roboto Mono for headings and Noto Sans for body text, free for download at https://fonts.google.com/
To use the fonts, add this snippet into the
headsection<link href="https://fonts.googleapis.com/css?family=Noto+Sans|Roboto+Mono&display=swap" rel="stylesheet" />Then we want to add these to the
styles.cssfor the default body and heading fontsbody { font-family: 'Noto Sans', sans-serif; } h1, h2, h3, h4 { font-family: 'Roboto Mono', monospace; }Now let's refresh the page! Wow ✨
Let's add some footer fixes
<div>
 <h3 class="heading">Contacc</h3>
 <div class="contact">
   <div class="links">
     <h4 **class="form-heading" **>Links</h4>
     <ul class="links-list">
       <!-- List content -->
     </ul>
   </div>

   <div>
     <form action="#">
       <label for="email">
         <h4 class="form-heading">Email</h4>
         <input type="email" id="email" placeholder="Enter your email" />
       </label>
       <label for="message">
         <h4 class="form-heading">Messages</h4>
         <textarea id="message">Your Message</textarea>
       </label>
       <div class="submit-button-wrapper">
         <input type="submit" valid="Send Message" />
       </div>
     </form>
   </div>
 </div>
</div>
form input, textarea { padding: 5px; border-radius: 5px; width: 240px; } form { width: 250px; margin: 0 auto; } form input[type='submit'] { width: 250px; } .submit-button-wrapper { margin: 8px 0; } .form-heading { margin-bottom: 8px !important; }
Change Background Colour
Let's add a background color and some separation of content
body {
background-color: #e2f8ec;
}

.container > div {
margin: 20px auto;
}

hr {
border: 0;
height: 1px;
background-color: #f2fff8;
}
Then add this before and after the
about-grid<hr /> <div class="about-grid"> <!-- About content --> </div> <hr />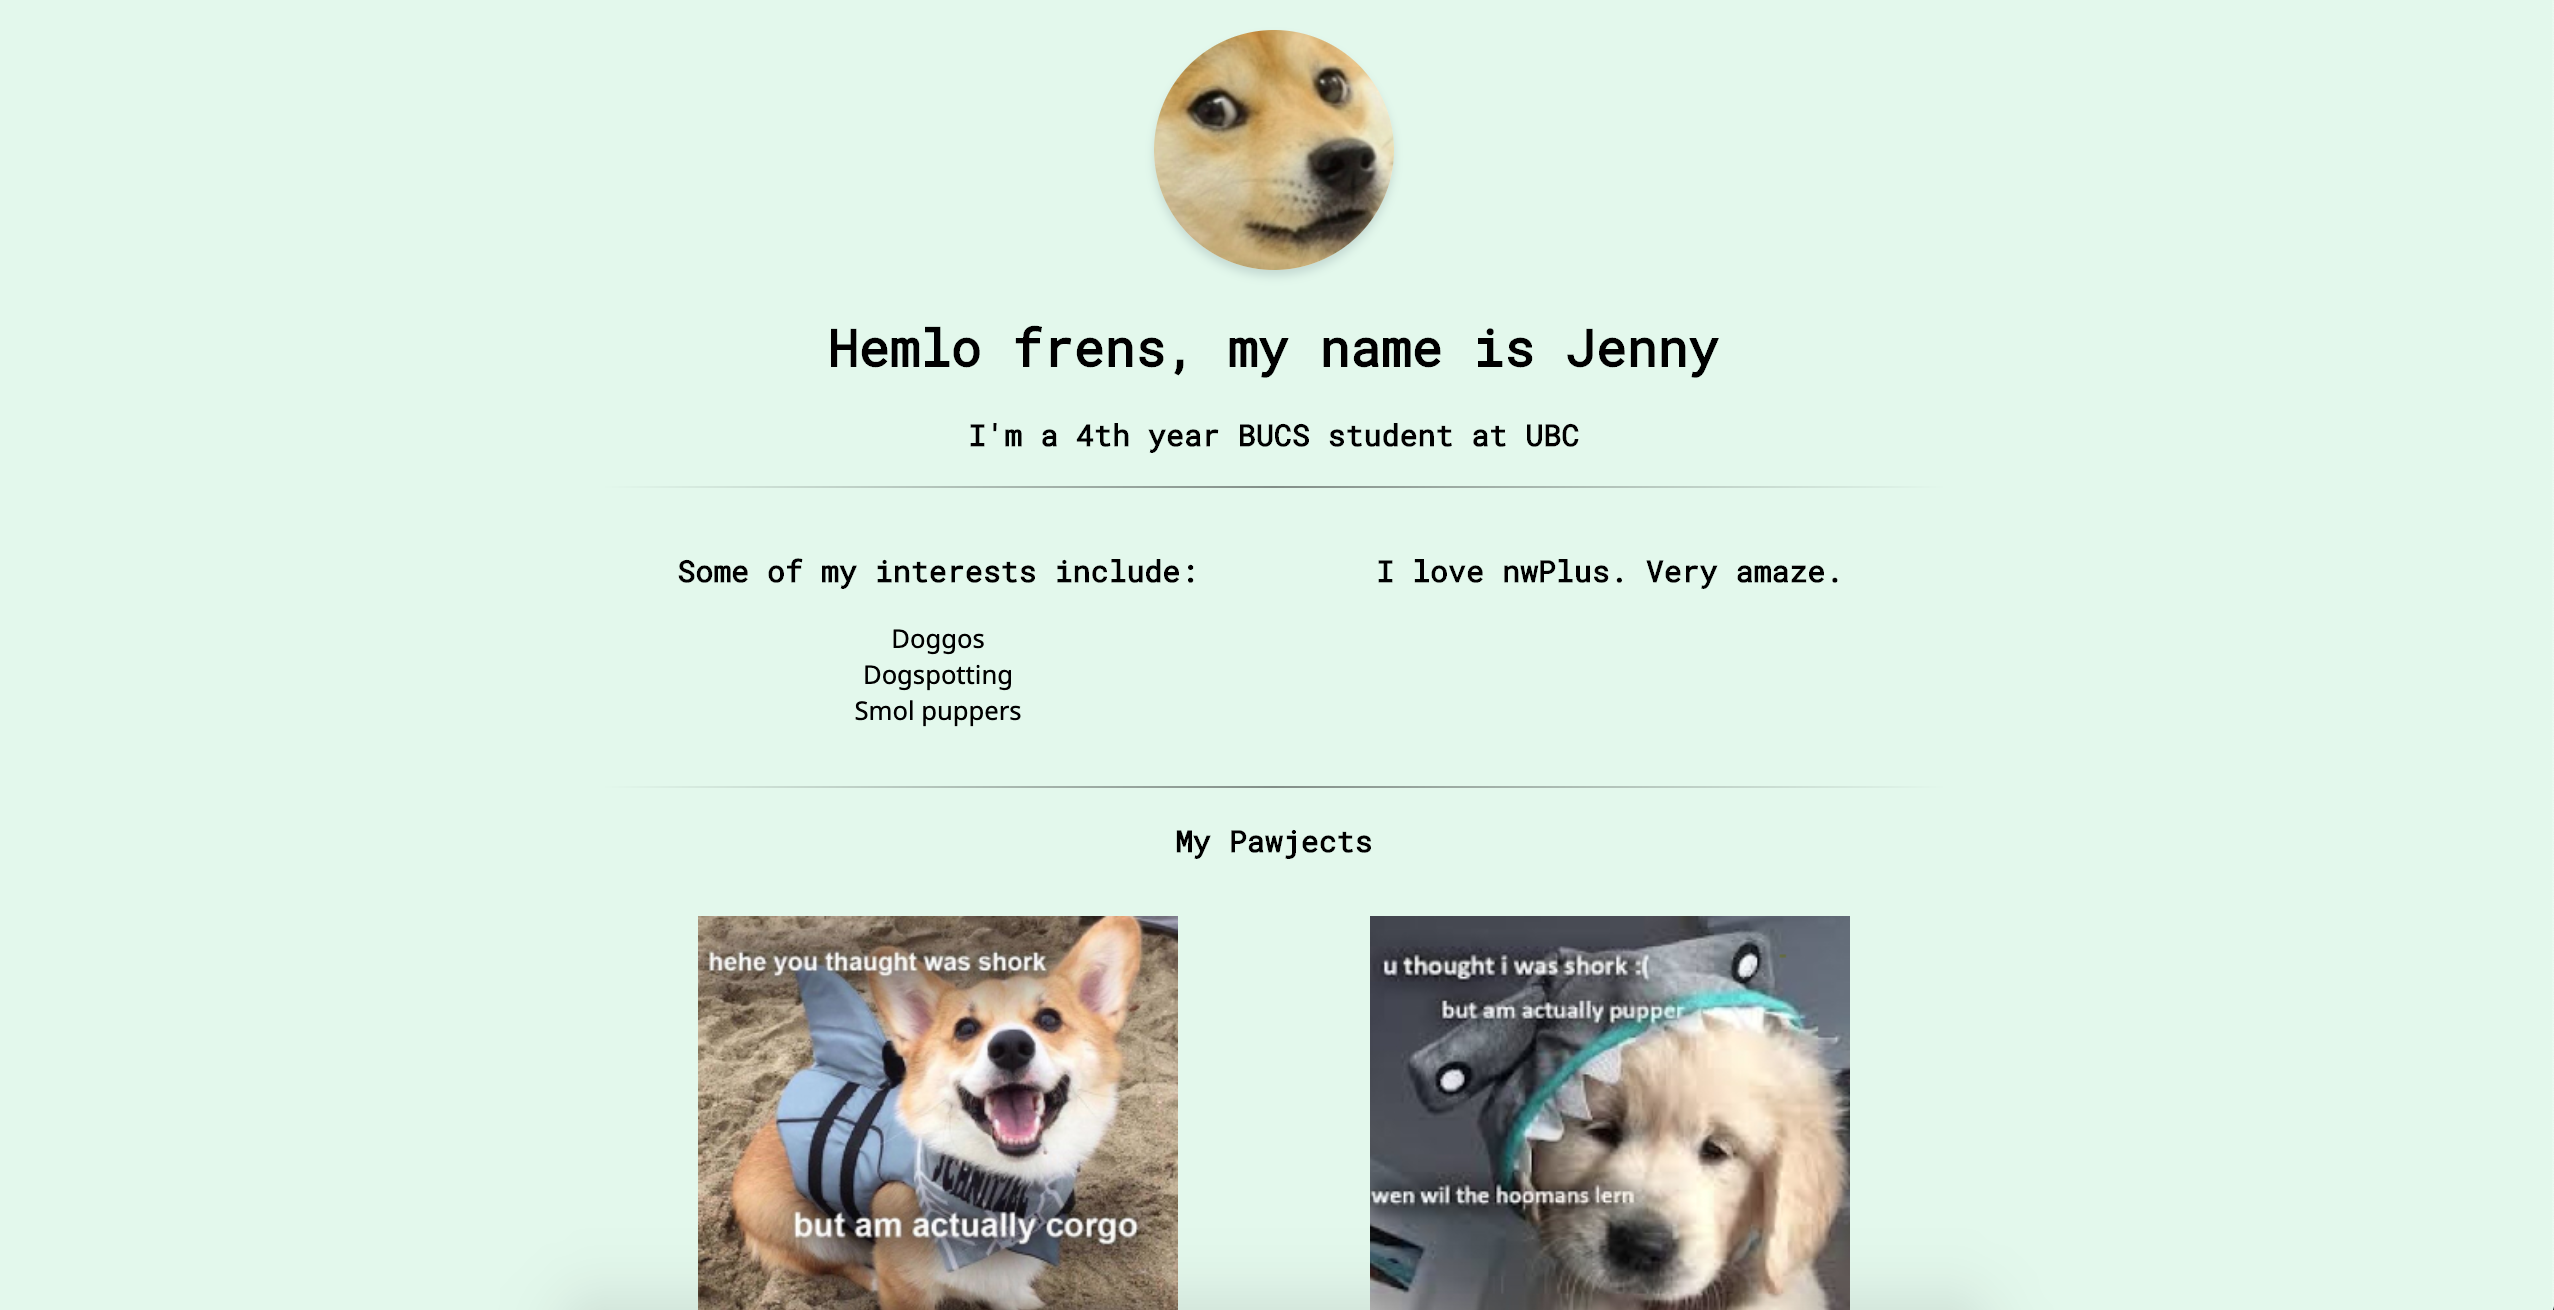
Change text color
body { color: #333333; }#333333is a slightly lighter and more gentle shade of black that is easier on the eyes. You won't see a drastic change when you refresh the screen, but from a UX point-of-view, this does make the text easier to read.